Chat trigger#
Use the Chat trigger node when building AI workflows for chatbots and other chat interfaces. You can configure how users access the chat, using one of n8n's provided interfaces, or your own. You can add authentication.
You must connect either an agent or chain root node.
Workflow execution usage
Every message to the Chat trigger executes your workflow. This means that one conversation where a user sends 10 messages uses 10 executions from your execution allowance. Check your payment plan for details of your allowance.
Manual Chat trigger
This node replaces the Manual Chat trigger node from version 1.24.0.
Node parameters#
Make Chat Publicly Available#
Set whether the chat should be publicly available (turned on) or only available through the manual chat interface (turned off).
Leave this turned off while you're building the workflow. Turn it on when you're ready to activate the workflow and allow users to access the chat.
Mode#
Choose how users access the chat. Select from:
- Hosted Chat: Use n8n's hosted chat interface. Recommended for most users because you can configure the interface using the node options and don't have to do any other setup.
- Embedded Chat: This option requires you to create your own chat interface. You can use n8n's chat widget or build your own. Your chat interface must call the webhook URL shown in Chat URL in the node.
Authentication#
Choose whether and how to restrict access to the chat. Select from:
- None: The chat doesn't use authentication. Anyone can use the chat.
- Basic Auth: The chat uses basic authentication.
- Select or create a Credential for Basic Auth with a username and password. All users must use the same username and password.
- n8n User Auth: Only users logged in to an n8n account can use the chat.
Initial Message(s)#
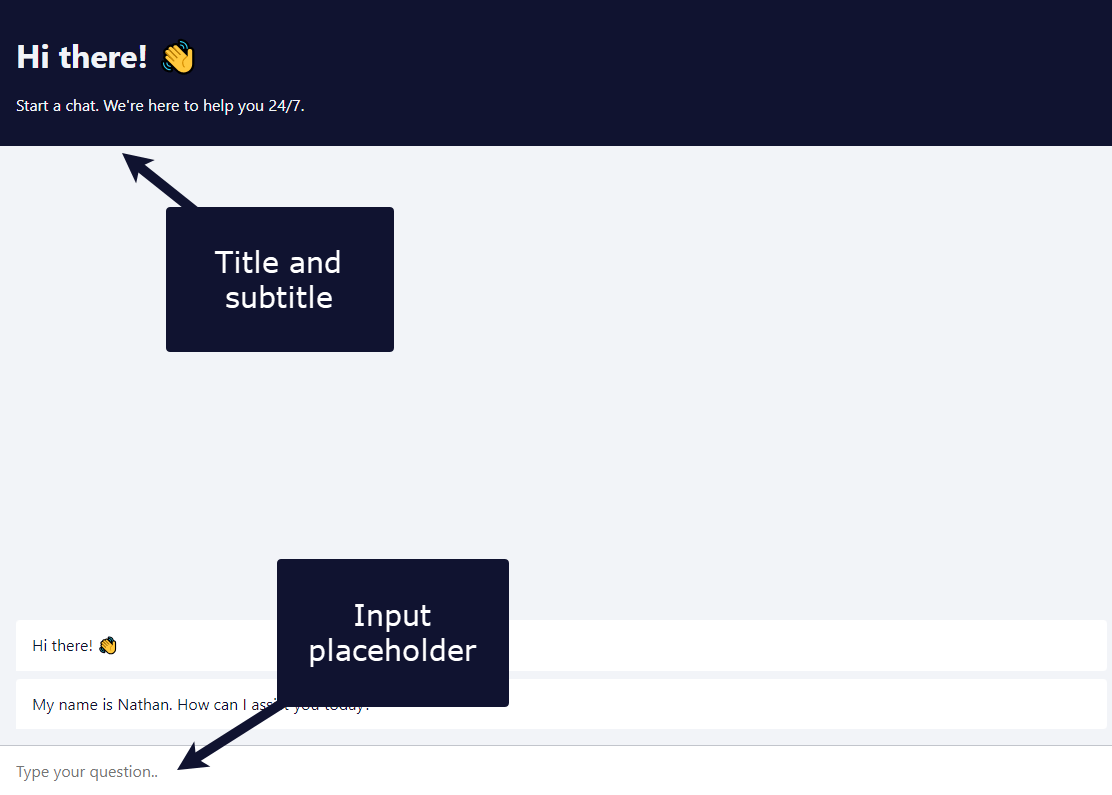
This parameter's only available if you're using Hosted Chat. Use it to configure the message the n8n chat interface displays when the user arrives on the page.
Node options#
Available options depend on the chat mode.
Hosted chat options#
Allowed Origin (CORS)#
Set the origins that can access the chat URL. Enter a comma-separated list of URLs allowed for cross-origin non-preflight requests.
Use * (default) to allow all origins.
Input Placeholder, Title, and Subtitle#
Enter the text for these elements in the chat interface.
Load Previous Session#
Select whether to load chat messages from a previous chat session.
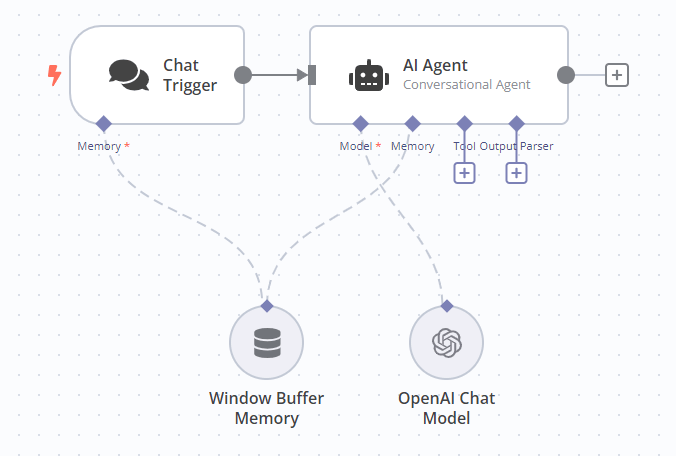
If you select any option other than Off, you must connect the Chat trigger and the Agent you're using to a memory sub-node. The memory connector on the Chat trigger appears when you set Load Previous Session to From Memory. n8n recommends connecting both the Chat trigger and Agent to the same memory sub-node, as this ensures a single source of truth for both nodes.
Response Mode#
Use this option when building a workflow with steps after the agent or chain that's handling the chat. Choose from:
- When Last Node Finishes: The Chat trigger node returns the response code and the data output from the last node executed in the workflow.
- Using 'Respond to Webhook' Node: The Chat trigger node responds as defined in the Respond to Webhook node.
Require Button Click to Start Chat#
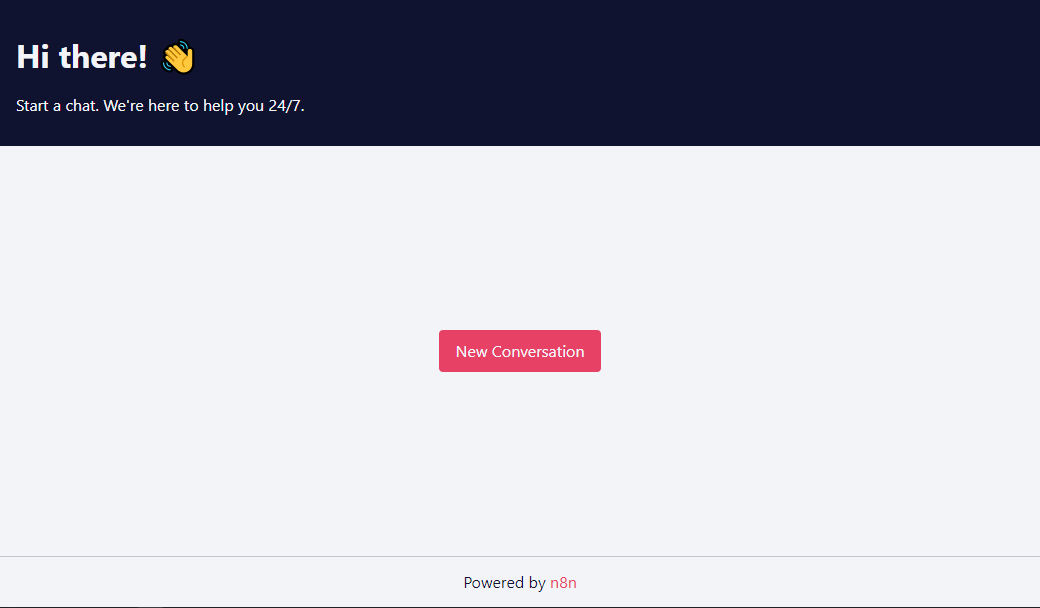
Set whether to display a New Conversation button on the chat interface (turned on) or not (turned off).
Embedded chat options#
Allowed Origin (CORS)#
Set the origins that can access the chat URL. Enter a comma-separated list of URLs allowed for cross-origin non-preflight requests.
Use * (default) to allow all origins.
Load Previous Session#
Select whether to load chat messages from a previous chat session.
If you select any option other than Off, you must connect the Chat trigger and the Agent you're using to a memory sub-node. The memory connector on the Chat trigger appears when you set Load Previous Session to From Memory. n8n recommends connecting both the Chat trigger and Agent to the same memory sub-node, as this ensures a single source of truth for both nodes.
Response Mode#
Use this option when building a workflow with steps after the agent or chain that's handling the chat. Choose from:
- When Last Node Finishes: The Chat trigger node returns the response code and the data output from the last node executed in the workflow.
- Using 'Respond to Webhook' Node: The Chat trigger node responds as defined in the Respond to Webhook node.
Templates and examples#
Related resources#
View n8n's Advanced AI documentation.
Set the chat response manually#
You need to manually set the chat response when you don't want to directly send the output of an Agent or Chain node to the user. Instead, you want to take the output of an Agent or Chain node and modify it or do something else with it before sending it back to the user.
In a basic workflow, the Agent and Chain nodes output a parameter named either output or text, and the Chat trigger sends the value of this parameter to the user as the chat response.
If you need to manually create the response sent to the user, you must create a parameter named either text or output. If you use a different parameter name, the Chat trigger sends the entire object as its response, not just the value.


